
Preconfigured Linux Images on Microsoft Azure. Part II – Running a Community Instance

Microsoft Azure has community based Linux images in VM Depot. In a previous blog, we showed how to copy a community image to you own Azure account. In this post, we talk about how to boot an instance from that image.
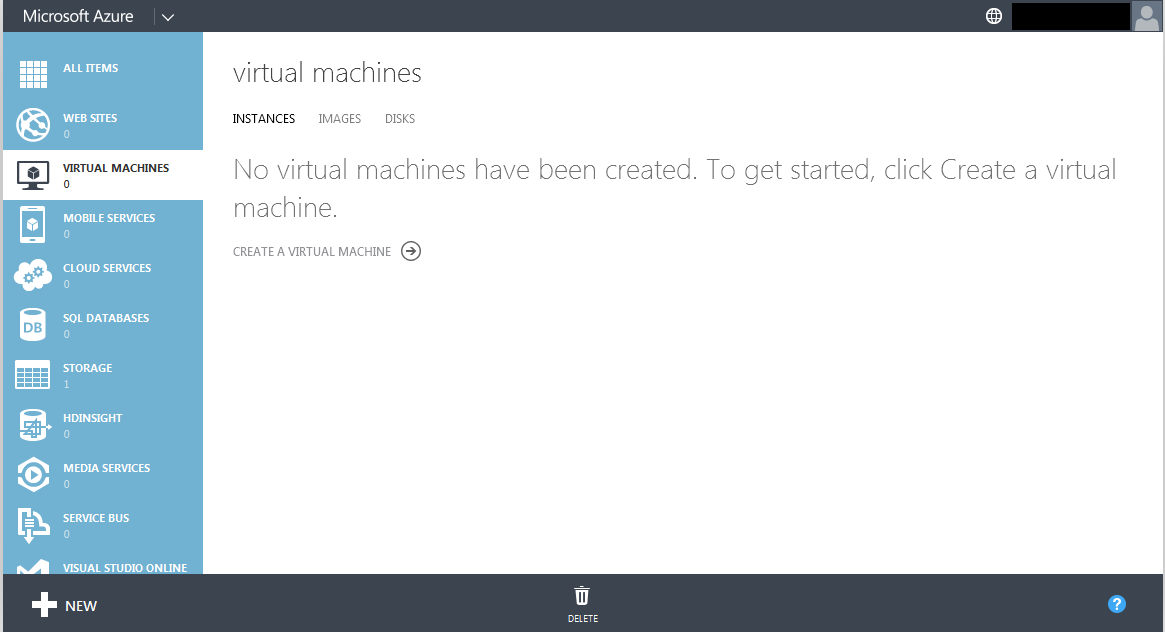
Login to your Azure account, and click on the ‘+ NEW’ button at the bottom left hand side of the screen.
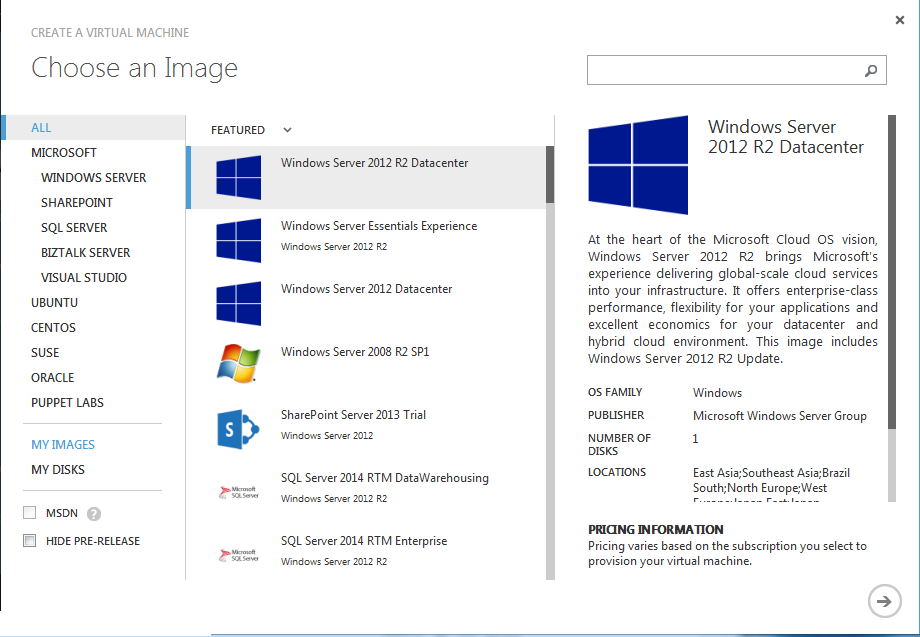
On the New screen that slides up, select Compute -> Virtual Machine -> From Gallery.

When the Gallery screen appears, select ‘MY IMAGES’ on the left.
You should now see a screen that list all the images that you have copied to your account. If you have more than one image, select the one you want.
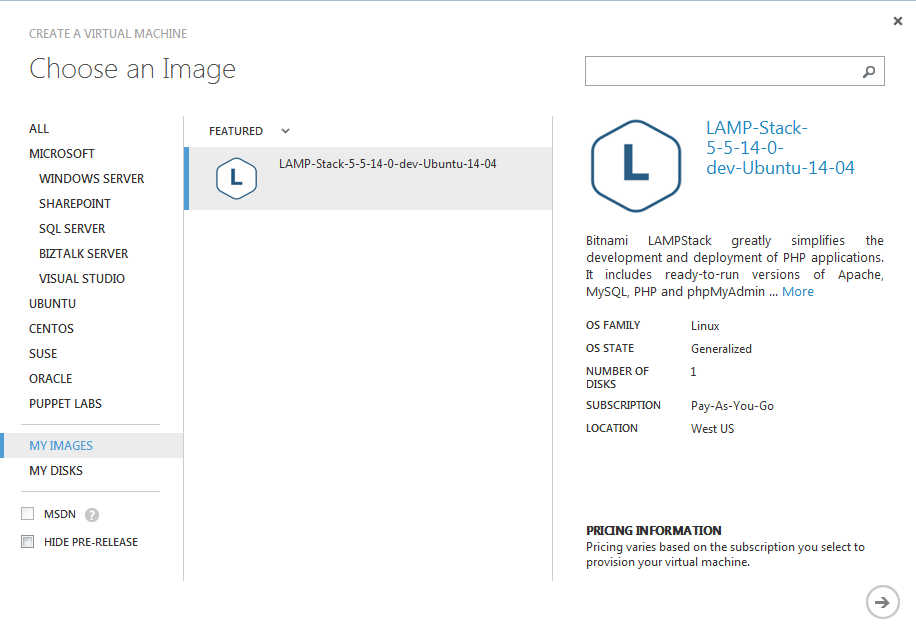
Click on the right arrow to go to the next screen.
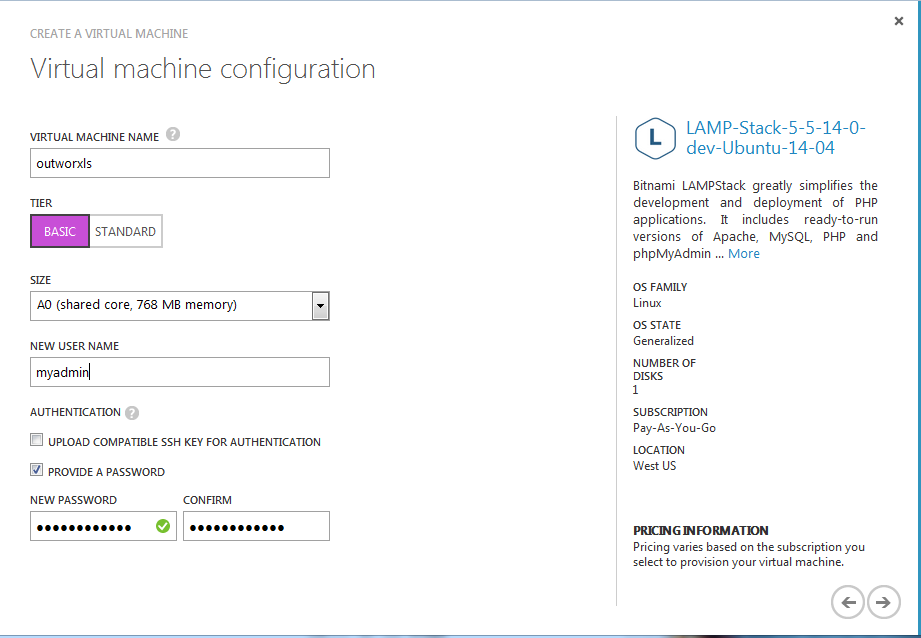
Select the various virtual machine configuration parameters you want, and then click on the right arrow to go to the next screen.
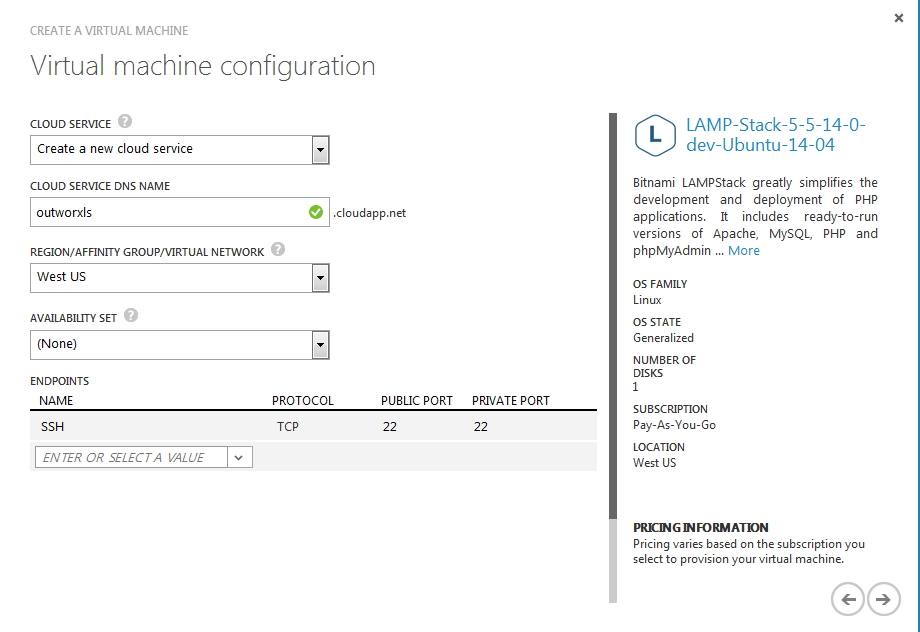
If the value of ‘Cloud Service’ is set to ‘Create a new cloud service’, then Azure will assign this instance an IP address and a DNS name that are accessible from the Internet. The DNS name will be the value of the second field with ‘.cloudadd.net’ appended to it. If some other Azure user already had that name, you’ll get a red exclamation mark in that field. In this case, simply add some random digits or otherwise change the name to make it unique across all Azure users.
You’ll also want to pay attention to the value of ‘Region/Affinity Group/Virtual Network’. You typically want this to match the value of Location in the image description on the right hand side of the screen. If they don’t match, then you’ll get a bandwidth charge as Azure transfers the image from the region where it is stored to the region where the instance will run.
When you are all done, click on the right arrow.
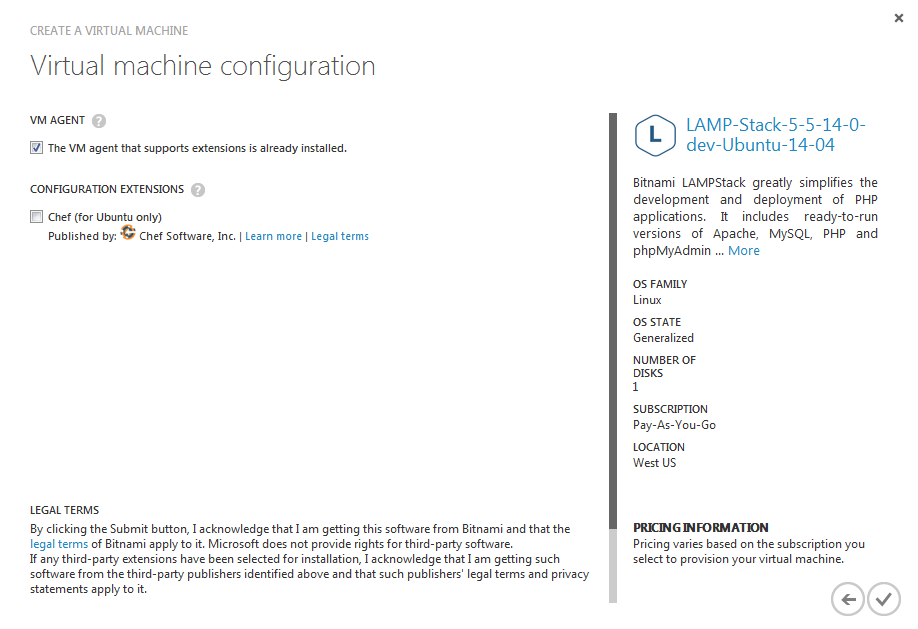
When this final screen appears, just click on the check mark. Azure will spin up a new instance of your community VM within a few minutes!