
Preconfigured Linux Images on Microsoft Azure. Part I – Getting Community Images

When most people think of Microsoft Azure, they think of Windows servers. But Azure also supports popular Linux operating systems including Ubuntu, SUSE, CentOS, and Oracle Linux.
When you create a new Virtual Machine in the Azure Portal, it offers you the choice of ‘Quick Create’ or ‘Gallery’. Quick Create gives you a list of the most popular Windows and Linux images. If you want more choices, you can look at the Gallery, which has a larger selection of images, often with preconfigured stacks for databases, SAP, or enteprise versions. Almost all of these offerings come from distros that have partnered with Microsoft.
But Microsoft also has community based images that are shared through the VM Depot. Microsoft Open Technologies, which is owned by Microsoft, maintains a website where the community can upload images to share. These images are transferred into Azure where users can copy them into their own accounts and use them. All images are free, and you can find a variety of software stacks here.
In this blog, we will show you how to start up a LAMP stack using a preconfigured image in the Azure VM Depot.
First, login to your Azure account. Select the Virtual Machines tab. Your screen should look something like the one below.
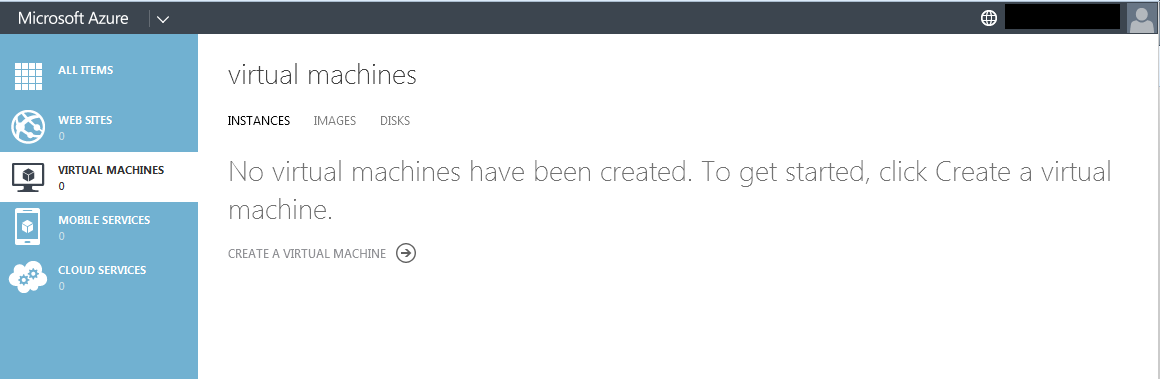
Now select the IMAGES tab.

The VM Depot has the preconfigured images, and there are two ways to get there. You can click on the ‘BROWSE VM DEPOT’ link at the top, or press the ‘BROWSE VM DEPOT’ button at the bottom of the screen. Chose either one, and the same VM Depot screen will appear.
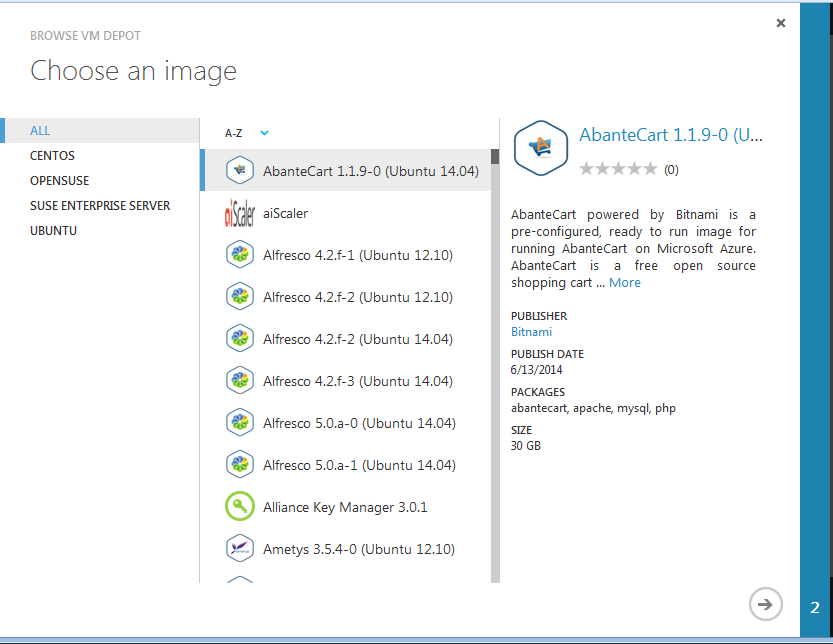
When you click on an image, you’ll get more info on it in the right hand column. If you want even more information, you can click on the image name in the right hand column. This will take you to the external community site where the image is described in greater detail.
For this blog, we’ll use an Ubuntu LAMP stack. Clicking on the UBUNTU link in the left column limits the selection to that OS. We next scroll down to a LAMP and OS version we like.
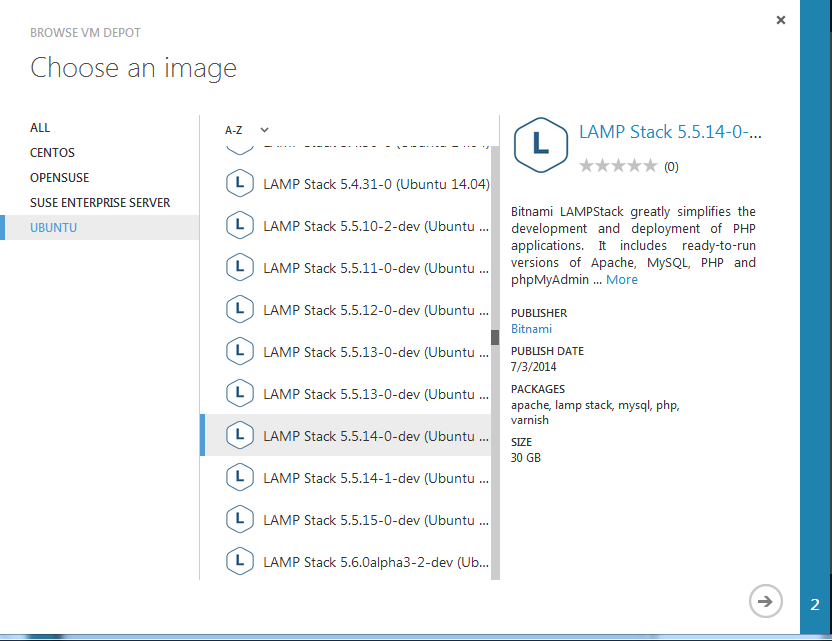
Having found the image, we simply click on the check box to go to the next screen.
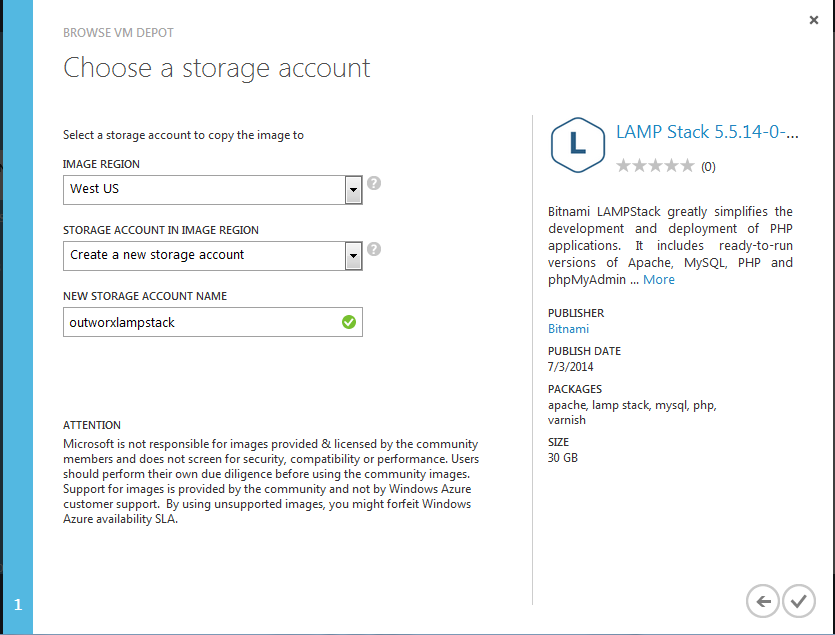
Azure will copy the image I selected into the region I specify in this screen. You’ll want this region to be the same one where you later run the VM.
You also need to chose the storage account name. One thing that is a little bit different about Azure storage is that storage account names must be unique across all Azure users. This is because Azure assigns Internet-accessible URLs to the storage that use the storage name you select. If you have trouble finding a unique name, then add your company name or some random string to the base name you want.
When you are done, click the check mark to start the copying process.
Azure will immediately begin copying the image from VM Depot into your storage account. It will also take you back to the IMAGES tab of the Virtual Machines screen. When the copying is complete, you’ll see the image status change to ‘Pending registration’.
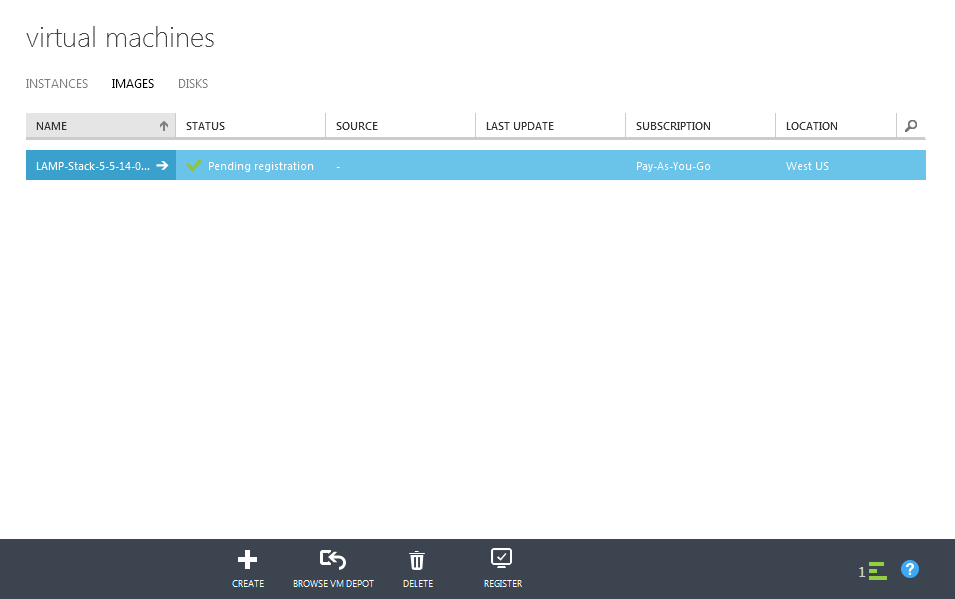
As a final step, you need to click the Register button to register the image.
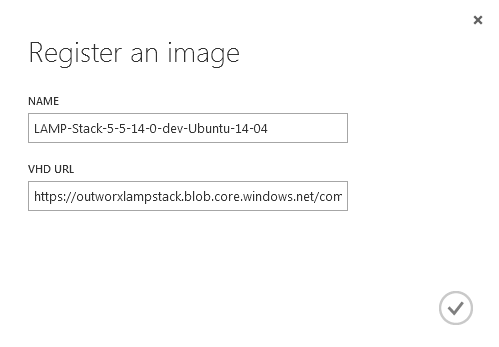
Click the check mark to complete the registration. It is now ready to be used.
One thing to note about this process is that when the image gets copies from the VM Depot into your storage account, you’ll start getting charged for the storage you use.
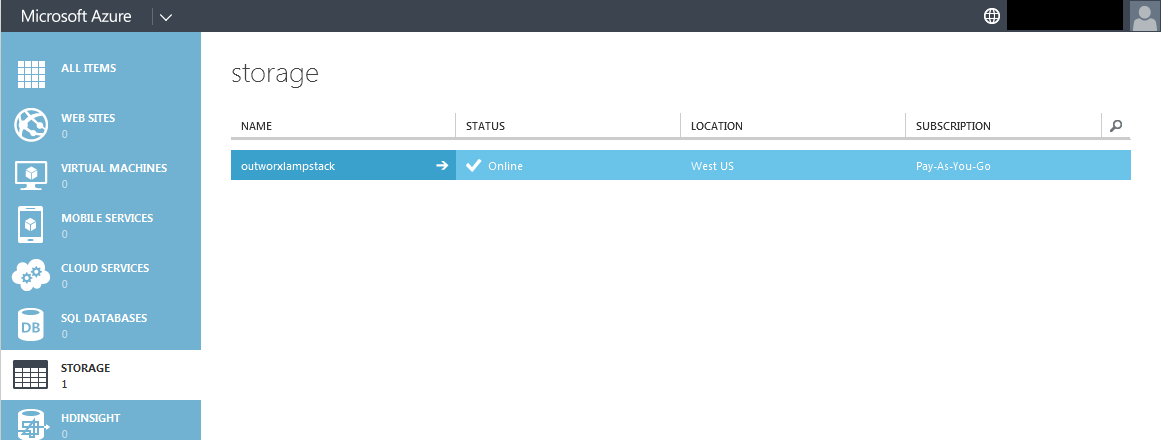
Here you’ll notice that the Storage tab now has 1 account, the one we just created. The name matches what we selected when getting the image from the VM Depot.
If you click on the storage account name and then CONFIGURE tab, you’ll see a display like the one below.
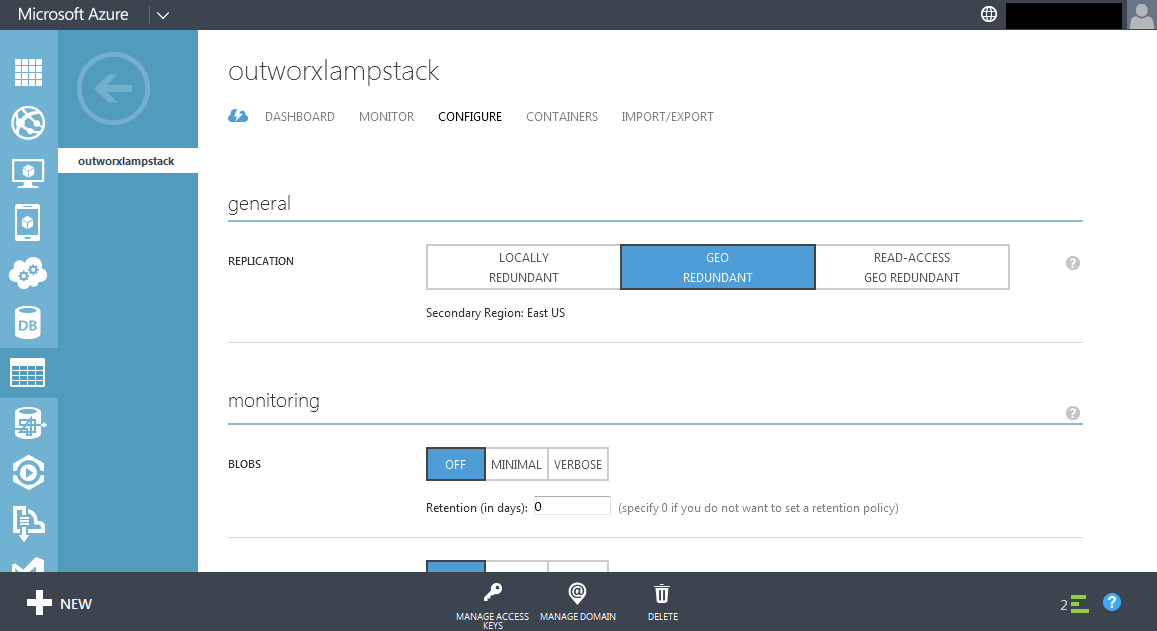
Notice that the Replication setting is ‘Geo Redundant’. This is a more expensive option that stores the data for the image at two geographically distributed data centers. While good for disaster recovery, it may be overkill for images that you are just using for testing. You can use the lower priced Locally Redundant setting by simply clicking on, and then clicking on the Save button that will appear at the bottom of the screen.